garden : resisting the siren call of Monsanto

When I talk with neighbors about our yard, they are uniformly positive about the way it looks. Which I can understand: we eradicated the pokeweed orchard in the back corner; we cut the vines back out of the trees; we’ve pruned deadwood and limbed up the border hollies; and we’ve managed to create relatively weed-free areas around the shrubs and various flowering plants. When I look at the yard, though, all I see are the weeds popping up in the beds we’ve somewhat cleared, the vines creeping back over the fence and up the trunks of trees, the mulberries growing (literally) out of the foundation of the garage, and the poison ivy popping up here and there in back corners. It’s enough to make a girl forget all her principles and just wholesale blanket coat the area with poison, deep-seated hatred of Monsanto be damned.

That’s where I was last week, ready to spray Roundup ™ on everything that was growing anywhere I didn’t want it. I thought, ‘Hey, next week will be hot and dry for the first seven day run all summer, perfect!’ So I started reading more about applying it. Which led me to studies that reminded why I hadn’t used it in the first place: negative impacts on amphibians, the possibility of residues lingering in the soils or harming various types of insects, and scary correlations with miscarriages in women exposed to the spray. Golly.

So, it’s back to the digging up, pulling out, and smothering plan. We’ll still spot-spray the poison ivy, and likely apply some kind of glyphosate to the stumps of the saplings we’re trying to kill. It appears that the universe approves of this change (back) of heart, because it’s delivered me a (literal) truckload of old newspapers that will be put to use in the smothering part of the plan. Just as soon as I read up on how to do that.

garden : resisting the siren call of Monsanto

garden : rain barrel


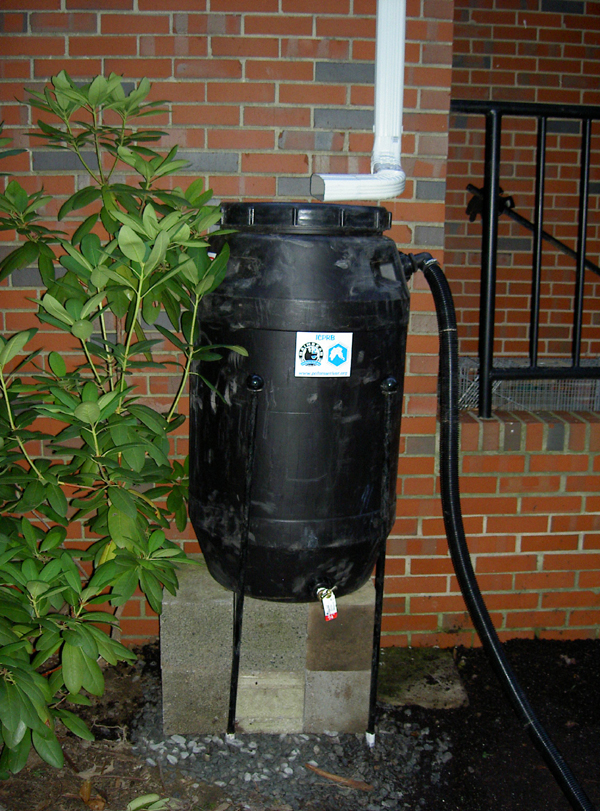
Freshly installed rain barrel, with rhododendron.

I have two overarching goals with regard to our house: (1) to make the entire enterprise of living here more energy efficient and (2) to make the yard and garden more pleasant and usable. Rain barrels address both of these aims to a certain degree, by reducing the amount of water used outside and taking away a favorite breeding ground for the nasty little daytime mosquitoes that proliferate in our town. While the rain barrel has an overflow tube, the tube can more readily be screened to prevent mosquitoes from breeding in the tube, since the water in the barrel is screened at the entry point.

I had been thinking about rain barrels for some time when I read about a local workshop in Organic Gardening magazine (something I probably never would have looked at but have greatly enjoyed since receiving a subscription with our composter). The workshop took place at the Accokeek Foundation, and was a collaboration with the Interstate Commission on the Potomac River Basin (ICPRB). ICPRB has commissioned Rain Bear Rain Barrels, which are well-suited to the hot mosquito-heaven that is our area during the summer; I thought we’d be making the barrels ourselves, but then learned that they are pre-assembled by volunteers onsite at the Accokeek Foundation. The workshop was more informative that hands-on, designed to make sure that we all knew how to install the barrels safely in order to not have them drown a raccoon or fall on a child. Once we’d gotten the information and signed a liability waiver (‘I will not sue you if my rain barrel drowns a raccoon or falls on a child’) we were free to go. A very nice man who lives two towns over from ours loaded one of my barrels into the back of his ginormovan SUV and dropped it off at our house after it was a surprise only to me that just one of the 60-gallon barrels would fit in our Saturn (now is the time when you’re impressed that any 60-gallon barrel would fit in our Saturn).

Once we got the barrels home, they stayed in the backyard against the house (upside down) for a month. Mostly because we hadn’t decided what modifications we’d make to the downspout and partly because I wasn’t that confident in my ability to level the ground. Even though I intellectually understand that paying the bank an obscene amount of money every month means that we can do whatever we like here, including lopping off the downspouts, I have a pretty large barrier to undertaking new projects of that sort. In the end, we decided to create a replacement short downspout that could be swapped out in the winter, thus avoiding having any flexible tubing that invariably turns into a mosquito Club Med. In the end, I mostly supervised and my partner did all the work of leveling, cinder block carrying and arranging, downspout cutting and reassembling, and barrel placement. It took us two days with the heat, some order of operations errors, and the fact that it was going to rain that night so it couldn’t stay half-assembled. In the course of getting the space ready, we had to cut the rhododendron back a bit; we dug up some of the rooted branch and passed along the section to a friend who was looking for something to replace an azalea that had died. By the time we got the segment into and out of the car again, it looked much scruffier than it had when we started digging it out. So far it’s survived, though, and we’re hoping that with some TLC and rain it will bush out and look like an actual plant.

The night we finished assembling the barrel—singular, as we still need to scrounge up some more cinder blocks and clear out some underbrush to create a space for the second barrel on the other side of the addition, a task delayed by having two wedding things, a pool party, and a 40th birthday party to attend last weekend—it poured rain. We ran outside to check on our barrel, all excited, only to discover that my partner had assembled the pieces of the spout inside-out and water was gushing out at each of the seams. So, in the middle of a lightning storm, he stood on a metal railing and dismantled the metal downspout, using metal pliers to reshape the pieces and make them fit back together the other way. After which our barrel filled up in about 39 seconds flat, and we were able to determine that yes, the overflow tube works just as it’s meant to. Since then, I’ve used the water for the ficus trees that are now out on the porch and some of the indoor plants; I need to get a watering can with a more narrow spout if I’m going to water the indoor plants from the barrel and not have to make a million trips out to the backyard with the plastic cups I typically use. Already I’ve noticed a marked downturn in the numbers of daytime mosquitoes on that side of the house and the water comes out as cool as promised.

I don’t know how many barrels we’ll end up with, although I did have this vision of a barrel at every downspout (which would probably not look the best at the front of our historic brick house, so is unlikely to happen). The barrels are $90 each, which is about half as much as those I found online, but if you’re buying more than a few it’s more economical to get a 400 gallon tank-style barrel. I’m not sure we have either the space or the watering needs for the larger barrel, so I keep reminding myself that the goal is not to collect every drop of water possible from our roof, but is instead to replace the tap water that I’d be using anyway. That isn’t actually a lot, as I don’t typically water my garden after the plants are established (the water is not recommended for car-washing, as it collects small grit from the roof and gutters). Having 120 gallons on hand at any given time seems pretty sufficient for our purposes, and we’ll just need to keep working on managing the water deluges in other ways.

garden : rain barrel

garden : foundation bed, volunteer wildflower, and leaves on the twig


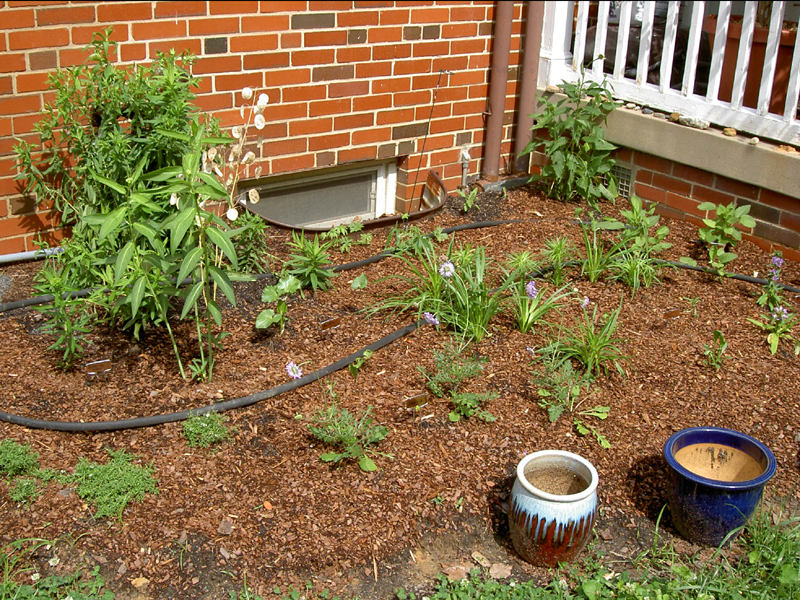
The front flower bed, newly planted.


The front flower bed, one month later.

A month after planting the foundation bed with flowering perennials, we’re seeing all kinds of growth. It doesn’t look like a mature flower garden yet, but it’s showing signs of how it will be when it fills in. When the plants first arrived, I was disappointed; I had expected all of the plants to be in pots and all of the potted plants to be larger. Now that the bare roots have sprouted, we’ve been able to tell which had crown rot and need to be replaced and which are likely going to survive. I probably should have been prepared for how scraggly it looks with just sprouts, but I have never done this kind of planting before.


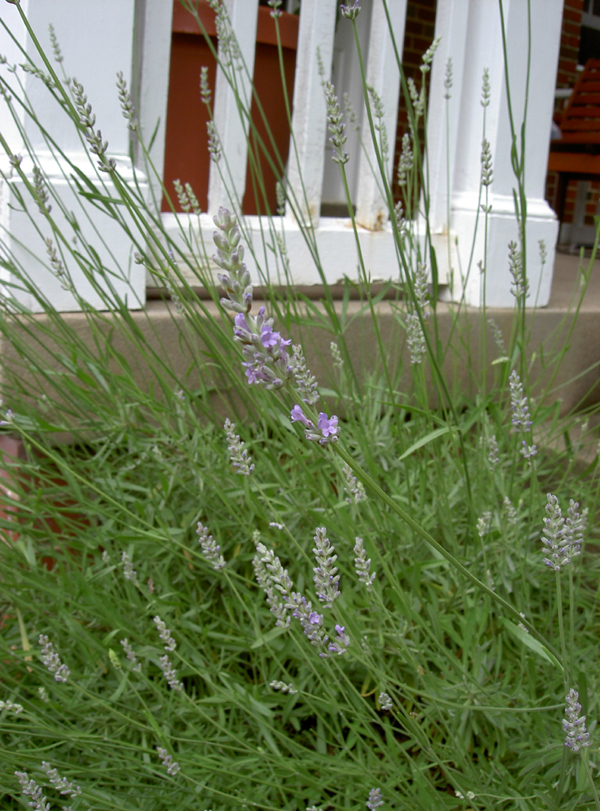
Lavender buds just opening.

In terms of flowers, the bellflowers were coming into bloom when they arrived, so they have been a nice splash of purple. The scabiosa took off, and they are also sprouting multiple pale purple blooms. While lovely, neither is the true blue that was advertised, and everything looks washed in purple with the lavender in full bloom next to the bed. The butterfly weed grew like, well, a weed, and several of the shoots have developed flower buds. I look forward to that splash of orange or yellow color. The dwarf aster bloomed as well, and I can’t remember whether it was supposed to bloom this time of year or whether it was just early because of the planting schedule. And, the small rudbeckia on the other side of the steps has bloomed, and looks quite cheery in that dark little patch. Besides those, everything else is still in the sprout stage; I’m not sure I’ll get any daisies at all this year at the rate they’re growing. I remind myself that it’s barely summer, and there’s plenty of time for them to shoot up and get established.


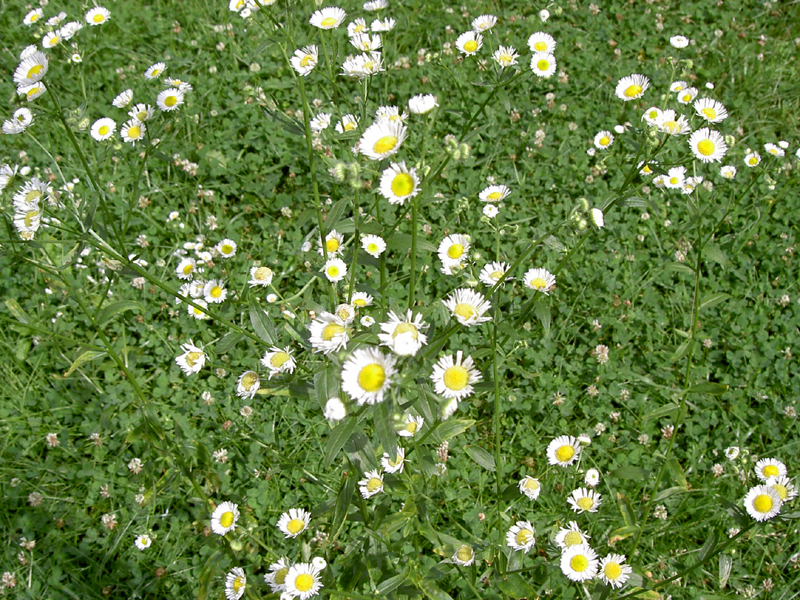
The volunteer aster.


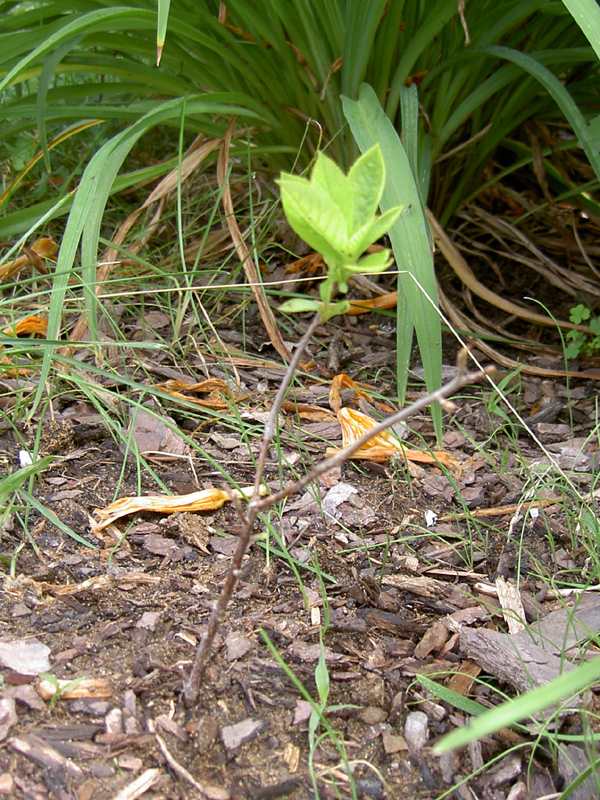
Leaves on the clethra.

Elsewhere around the front yard everything’s loving all the rain and heat. The clethra now has a full set of leaves, and we’re hoping to see more shoots once it starts actually photosynthesizing. The aster that I left unmowed has bloomed all over with lovely yellow-centered white flowers. I kind of like it as an outpost at the property line, but I’m under some household pressure to relocate it into the flowerbed. The monarda has grown significantly, and now has a healthy colony of predator insects eating the healthy colony of aphids that discovered it within the first days of planting. It hasn’t bloomed yet, but I’m hopeful. The daylilies are bursting out all over, of course; they love this climate and have been reveling in the rain. I had been thinking of phasing them out in favor of more natives, as I wasn’t sure anything found sustenance in them; I’ve since seen some insects eating the pollen and at least one butterfly—possibly a Delaware skipper—drinking from a bloom.


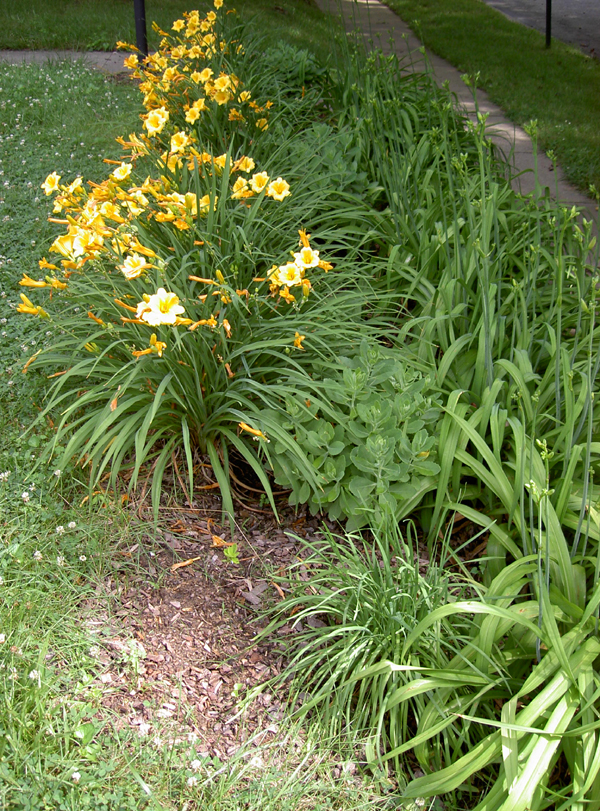
The daylily bed, with the clethra in the lower left corner.

garden : foundation bed, volunteer wildflower, and leaves on the twig

home : green living room

Our big accomplishment at the end of May was painting the living room. The living room was the last large room on the list to be painted; we’ve already completed the dining room, family room, and bedroom, as well as two of the three bathrooms. What can I say, after decades of living in whitewashed rentals I wanted some color on the walls! We left the living room for last partly in the hope that our painting skills would improve on some of the less central rooms (which they did) and also because we had no idea what we were going to do with all the stuff that is in the living room while we painted it. In the end, we moved the sofa and freestanding bookshelf into the dining room and piled everything else in the center of the room. This left not very much space to get around, which meant that my partner did all the actual painting in the end. Usually he edges and I roll, but he deserves all the credit for this one.


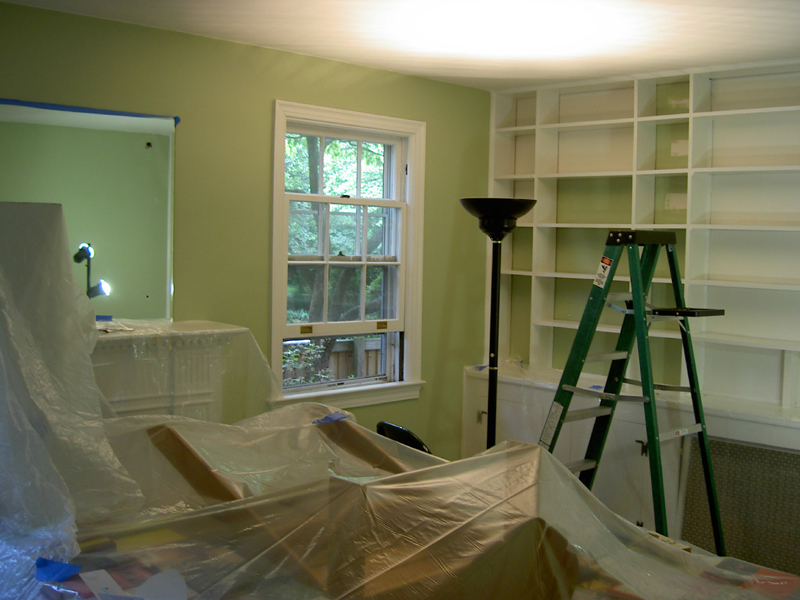
The living room in the process of being painted.


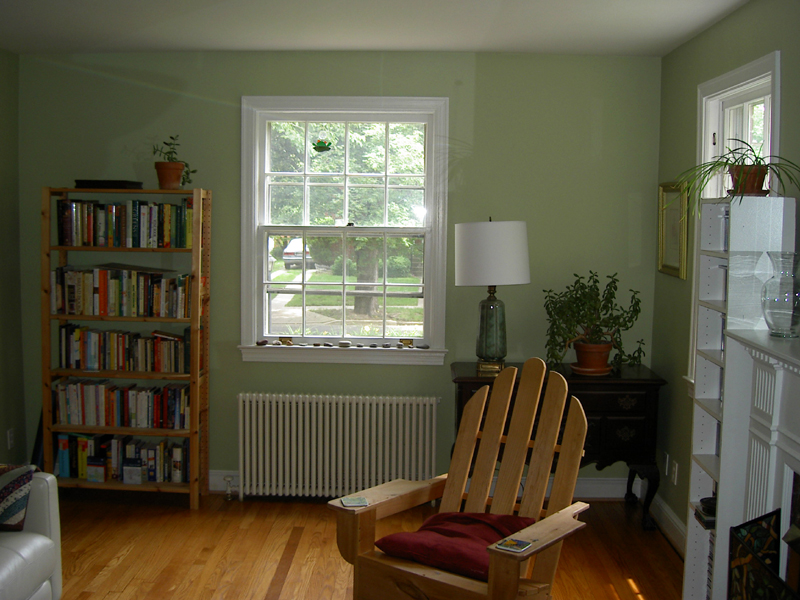
Living room, out the front window.


Living room, from the doorway toward the far exterior corner.


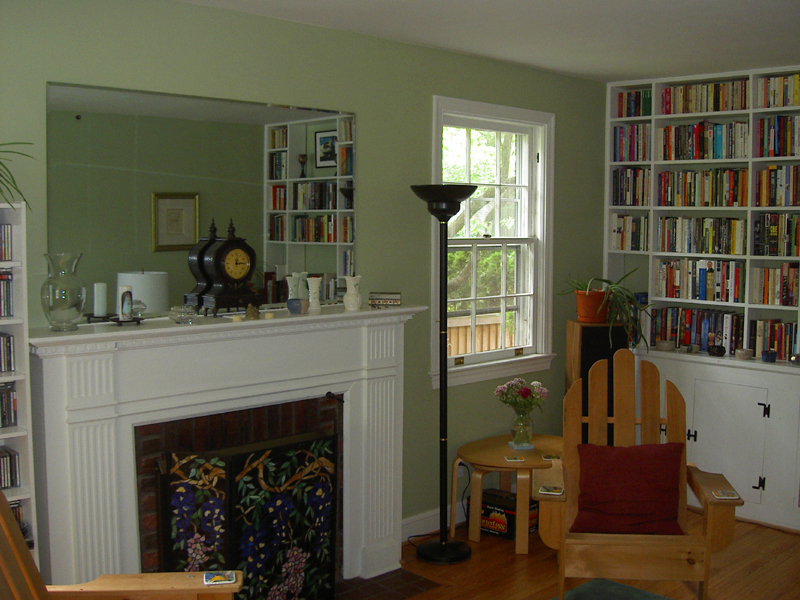
Living room, from the doorway toward the far interior corner.

Eventually, we’ll have actual chairs to replace the porch chairs (I’m holding out for something like these), a non-green rug, and some lavender pillows. You know, when I win the lottery.

home : green living room

home : faucet-mounted water filter

Just a month after starting to regularly use the Brita pitcher again, I dropped it and it broke. Which is a shame, because it was over ten years old and they just don’t make them as streamlined or user-friendly anymore. In the course of trying to choose which new pitcher to invest in—larger with unnecessary trimmings or too small to be of any use seemed to be our two main options—we decided to try a faucet-mounted filter. Most of our friends with small kids have one of these, and they seem to work relatively well. Online research (e.g. reading the reviews on Amazon) indicated that a system with metal threads on the connection was really the best way to go to avoid pressure-induced cracks. Target, of course, is still the go-to place for small home appliances such as these.

In the water filter aisle, the only option with metal threads was the Pur system, which has the added benefit of a higher NSF-rated filter option. Living in the DC area where toluene and atrazine are actually present in the water—albeit in amounts that have not yet been determined to be detrimental to our health a la the poison-prevention model of public safety regulations we apply in the United States—I wanted a filter that would take them out. We’ll see if the system lasts longer than a few months without springing a leak in the housing, something Amazon reviewers assure us is inevitable. The reviews also assure us, however, that Proctor & Gamble will feign surprise and replace the unit when that happens, so it appears that we’ll have options.

In the meantime, I’m drinking more water and happy to have had the opportunity to replace the o-ring at the bottom of the faucet stem, taking care of a leak that had appeared some months ago.

home : faucet-mounted water filter