food : thank goodness for nuts

Cooking has been a bit challenging around here, once we add the sprout’s dairy and gluten intolerances to our other health requirements of no soy, shellfish, or animal fats. My 15 years of a vegetarian have left me with a habit of hardly ever eating pork, never cooking red meat at home, and not eating chicken and fish every day either. (This last issue has more to do with mercury and PCPs, though.) We do go out for burgers about once a week to keep the sprout’s iron boosted, but protein was becoming a bit of a challenge. Thank goodness for nuts! After slowly introducing almonds, walnuts, and coconut to the sprout with no reaction, we took the plunge and started letting him eat small amounts of peanut butter. It turns out that he isn’t sensitive to them at all, which opens up a whole new avenue of gluten-free eating, freeing us from the tyranny of rice. In addition to being more nutritious, it’s much easier to find organic nut products than it is to find organic gluten-free rice-based foods, so my discomfort in that area has been somewhat relieved.

Our big success has been Quinoa Peanut Butter Cookies. I make them without chocolate and with quick cooking oats, because that’s what we have on hand; they are a bit goopy/crumbly and I imagine the chocolate adds quite a bit more flavor. After taking a couple of days to warm up to them (while also getting over a cold), the sprout will now put away 4 or 5 for a snack and I have absolutely no qualms about him doing so. They sure beat crackers or toast which were his previous mainstays, and given that I stir maple syrup into his oatmeal every morning, I’m not concerned about the small amount of honey they contain.

These cookies have supplanted date bars as his favorite snack, even the spicy ginger ones I make at home. Speaking of the homemade date bars, they’re incredibly simple. Get about 1.2 pounds of pitted dates (that’s two pre-packed containers at our market) and about an equal weight of nuts (I use 2/3 almonds and 1/3 pecans). The trick to getting them to blend together well, I have discovered, is toasting the nuts: cook them over medium heat in a dry frying pan (not non-stick) until you can smell them, which is when you know they’re done (just like a pie). Grind them fairly finely in a food processor and then add the dates and process until they start to clump together; you might need to intermix them in a couple of batches until the dates compress. You can add spices with the dates or process in later: I use 3 tsp. ground ginger, 2 tsp. ground cinnamon, and 1/2 tsp. ground cloves. Toasting the nuts makes them soft and brings out the oils, both of which help the bar stay together. If I’ve overdone the nuts, though, I cheat at the end and mix in some date syrup to help it all glom together. Press it into a ceramic baking dish, put it in the fridge until cool, then slice into bars and transfer to a tupperware container. They stay good for at least a week and keeping them in the fridge keeps them from getting too sticky, and they make tasty snacks for adults, too.

Next up on the gluten-free-baking-with-nuts train are the apple muffins (with coconut flour) that our friend makes and the sprout gobbles down and pumpkin spice cookies (made with almond meal) which should use up some of our autumn squash bounty. I can’t say I’m glad that so many people struggle with celiac disease, wheat allergies, and gluten-intolerance, but I am definitely grateful for the tested recipes now available. I can only imagine the briquets we would (not) be eating if I had to come up with this food on my own!
food : thank goodness for nuts

food : Daddy Happy Birthday Cake!

Now that the sprout is nearly two, we are starting to get invited to birthday parties. He has no concept of time or numbers as related to age, but he’s all over making cards for people, going to parties, and belting out “HAPPY BIRTHDAY!” In this light, I decided to go the whole nine yards for my partner’s birthday, with frosted layer cake, candles, and singing, instead of just the basic dinner plus presents that we’ve done in the past. The only and biggest catch is the need for the cake to be dairy- and gluten-free, since just not giving any to the sprout is no longer an option as he demands to try any and all food he sees and doesn’t recognize. (We tried to put him off by telling him the cookie was yucky, which just made him request to “eat yucky cookie, please.”) Since his own birthday is coming up next month, I thought this was a good opportunity to figure out if gluten-free dairy-free cake is even edible before foisting it on a passel of toddlers and their unsuspecting parents.

First up: decide which flavor I’m making. Red velvet would have been my first choice, except that my partner doesn’t love it (and it is his birthday), it’s full of cocoa and therefore caffeine (making it not terribly kid friendly), and I’m pretty doubtful that my beet-based food dye is going to be able to achieve anything like the ideal. So that’s out. Chocolate is out for reasons of caffeine, and yellow cake with vanilla frosting is just too white cake for me, despite being my partner’s first choice and totally fine for a toddler. Also, I was a bit concerned about the overly ricey flavor of white cake based on my experience with the pie crust and wanted a stronger flavor to mask it. So, yellow cake with chocolate frosting it was. (Recipe from The Allergen-Free Baker’s Handbook, of course.)


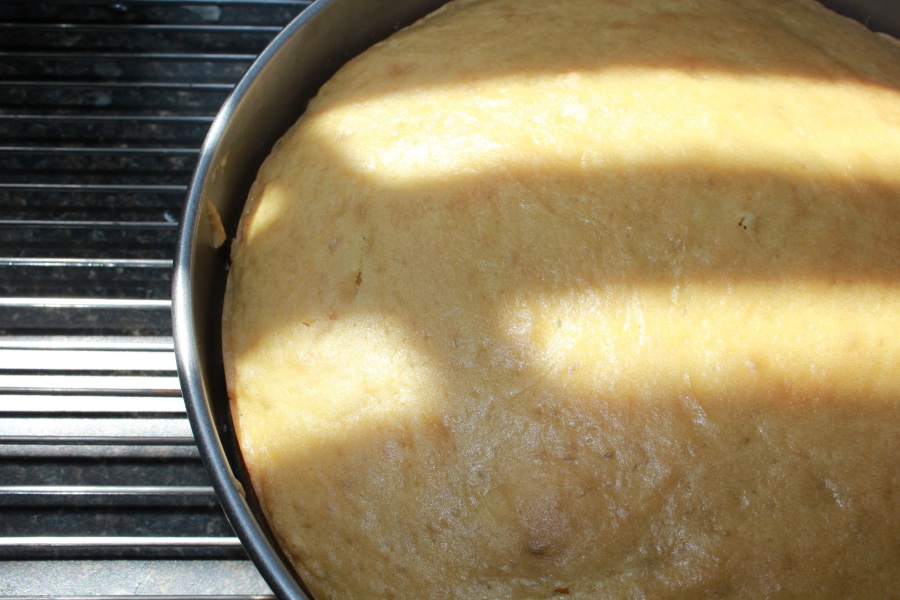
Yellow cake in the pan.


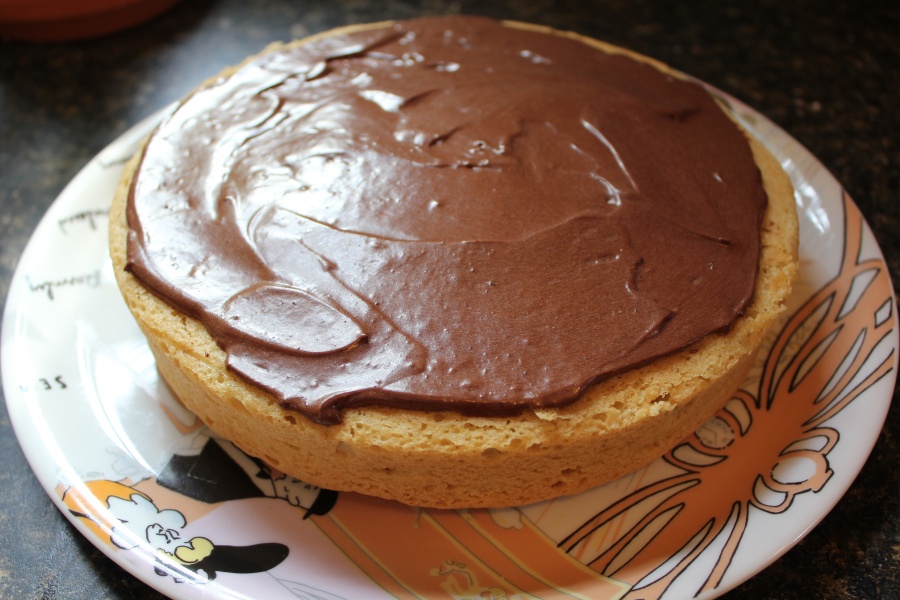
First layer frosted.

Baking the cake was a bit nerve-wracking since I don’t typically bake cakes. I don’t typically bake cakes because they make me nervous, all the possibility for not rising and sticking and cracking and whatever else cakes do that they’re not supposed to. However, I can either pay approximately a million dollars for a gluten/dairy/soy/dye-free birthday cake or I can make one, so I did.

Once the cakes were baked, removed from the pan, and cooled without a hitch, I was facing the frosting part. Frosting is another thing I don’t do, mostly because I didn’t own a mixer of any kind until I acquired a hand mixer a few years ago. Making frosting without a mixer is a miserable experience that I suffered through once a year for the sake of holiday roll cookies, but not something I’d ever voluntarily undertake. Yet here we are! Frosting mixed up well and after a quick consult with the “how to frost a cake” section in Mark Bittman’s How to Cook Everything I was ready to go. And, it went surprisingly well. Except for the part about how I didn’t trim the cakes to make the flat (Less cake? No way!) so the whole thing was a little like the leaning tower of cake. Not enough to matter, though, and I’m sure other people didn’t even notice.


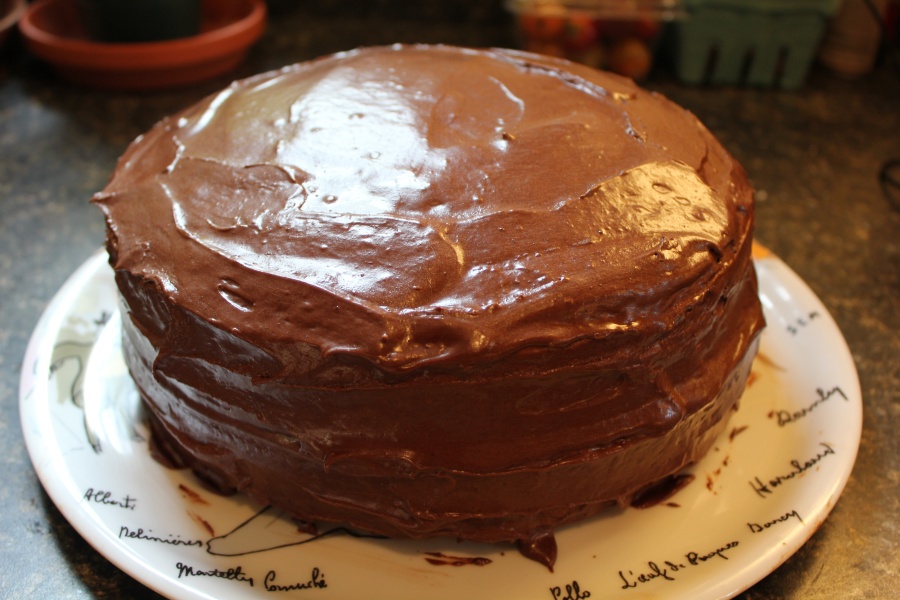
Slightly tilting layer cake successfully frosted.

Last but definitely not least was the matter of taste. We had two friends on hand to give us the brutal truth about taste. Clearly the birthday boy, the baker, and the toddler were going to eat the cake no matter what, so we needed to consult impartial judges. My partner and I both agreed that it tasted a little ricey, but not impossibly so and the chocolate went a long way to cut that. Our friend asserted that it tasted “like cake” which was a completely acceptable response. Friends who were offered Round 2 of the cake the next day did think it tasted a little “malty,” which was probably the rice plus vanilla plus soy yogurt; next time I’ll use vanilla yogurt or just try the sheep’s milk yogurt and see how the sprout reacts. This time, though, it was pronounced good enough for next month’s toddler party. Success!


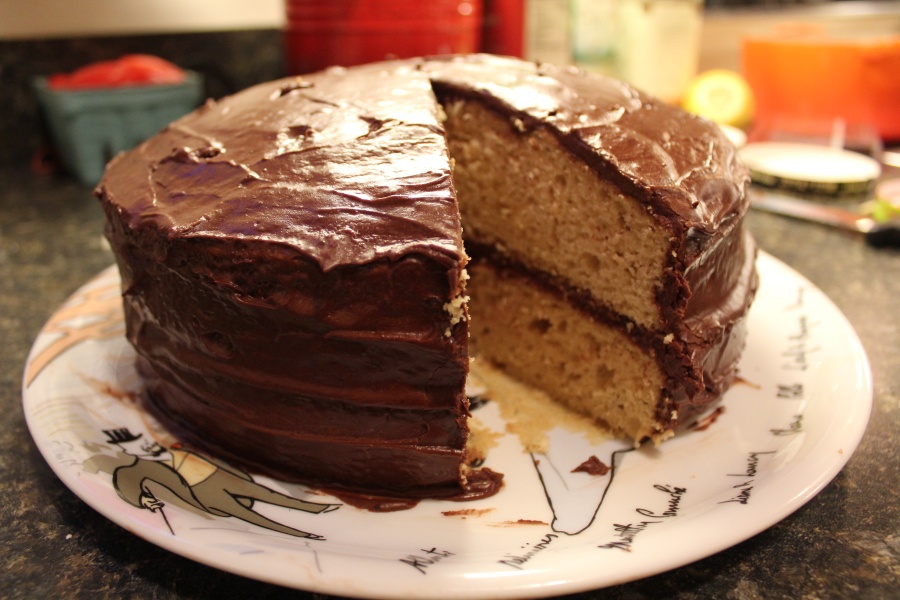
First piece to the birthday boy.

food : Daddy Happy Birthday Cake!