baked stuffed butternut squash


Dinner, day two.

Last week I made stuffed squash for the first time. It’s not the kind of thing that I ate much of growing up, nor is it the sort of thing I would order in a restaurant. But it appeared to be one of the few ways to actually eat a squash as a meal, so I thought I’d give it a try.

We’d received two butternut squash as part of our summer farm subscription, and I’d let them cure on the sideboard the recommended 10 days or so. I lacked a meatless recipe for stuffed squash in my own cookbooks, so I based my efforts on a recipe from a woman who is also adapting her cooking to lower cholesterol. And, the photo looked tasty.

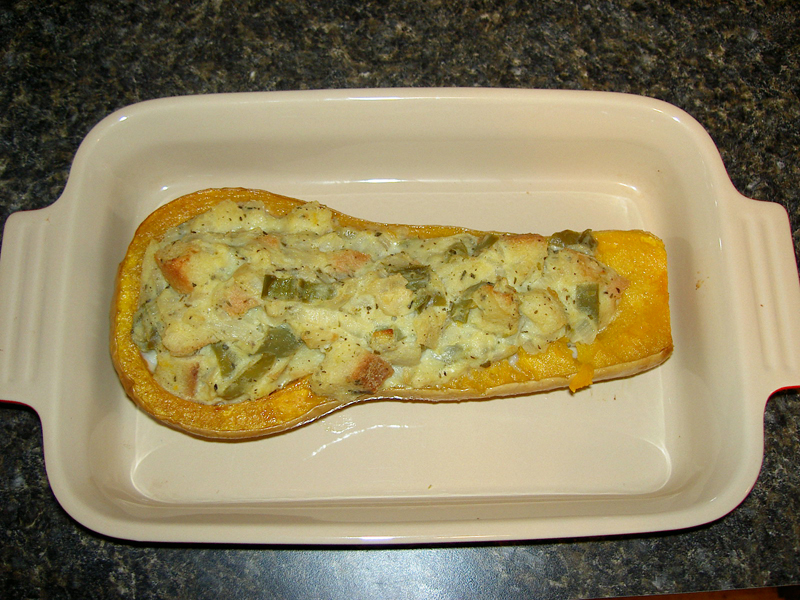
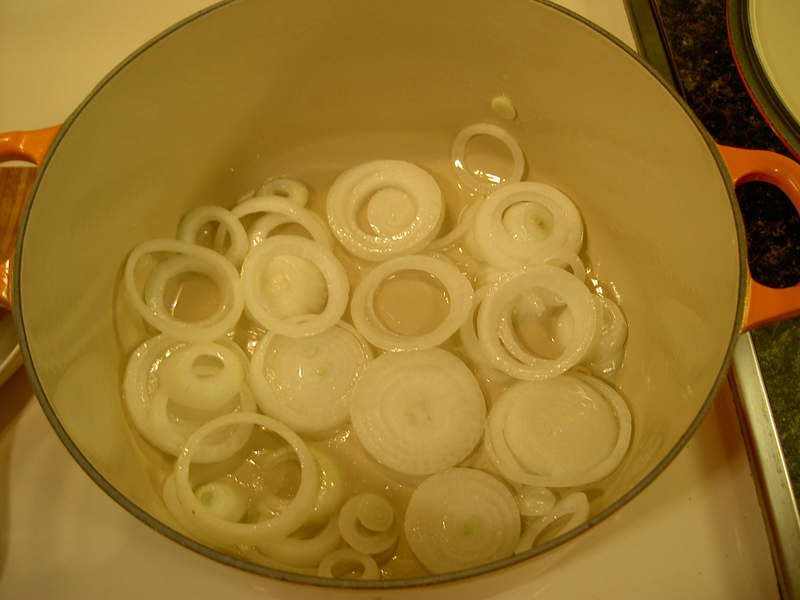
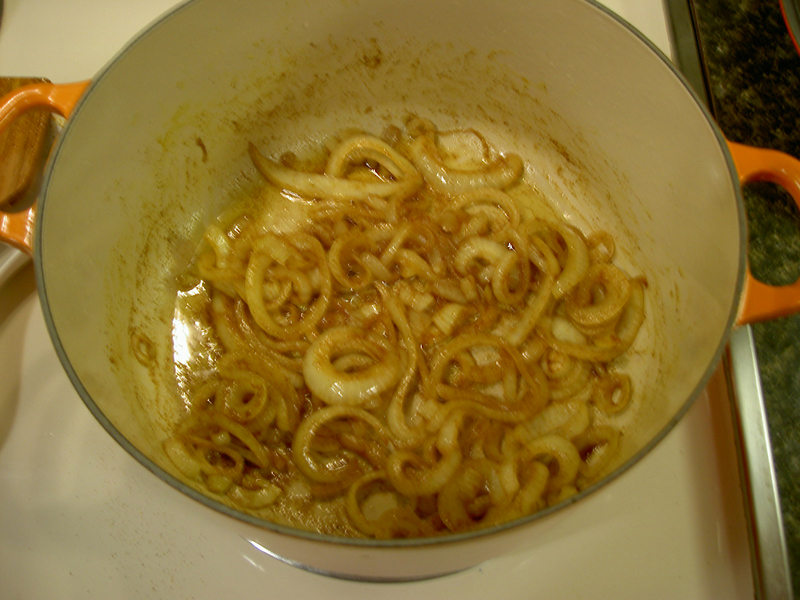
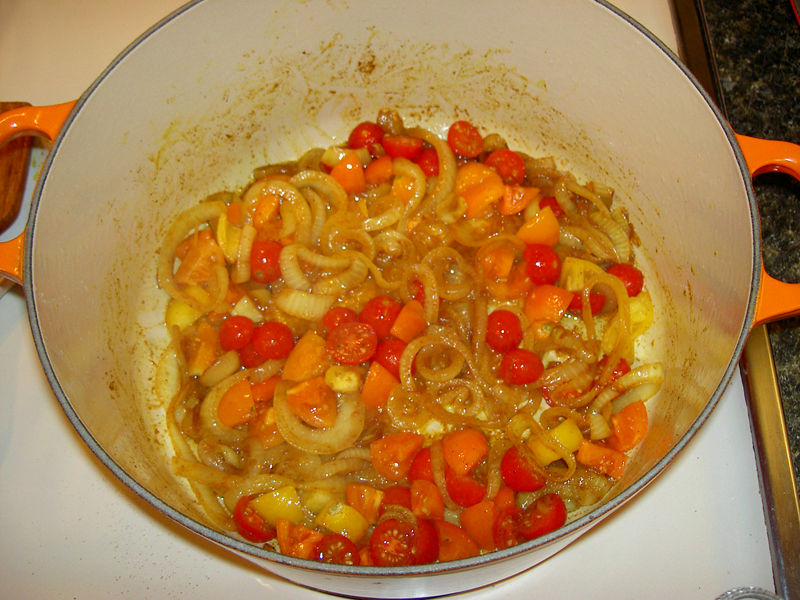
For my version, I sautéed about half a head of garlic, three onions, three ancho peppers from our farm subscription, and three little yellow-green apples I had kicking around in the crisper. Spice-wise, I used a bit of dried sage, dried thyme, and salt and pepper. When that had cooked down to a nice thick goop, I mixed in a few slices of stale rosemary potato bread from the farmers’ market, chopped into cubes, and one egg’s worth of EggBeaters. To prepare the squash (which I’d already coated in olive oil and baked at 350F for about 40 minutes), I scooped out a bit of the middle to create a longer cavity. I then heaped the filling in, using it all on the two halves as the squash was large, and baked it for about another 40 minutes.

The result was, I have to say, underwhelming. It looked decent, and it was cooked all the way through, but it never really browned up, making us think we probably could have cooked it longer and/or at higher heat. The flavor was also very bland; it could have used fresh herbs, including rosemary, in much greater quantities. Finally, both of us had a mental challenge with regard to our expectations. I imagined only the savory Christmas stuffing of my youth, to which this stuffing definitely did not compare favorably despite its highbrow ingredients. My partner had a similarly difficult time getting over the conception of squash as a side dish, and kept looking around on his plate for the meat. Expecting that the squash would be quite filling, I had only prepared potatoes on the side; a green salad probably would have rounded out the meal more. Of course, when you’re eating vegetables stuffed with vegetables and a side of vegetables, a few more here and there probably don’t notably change your experience.

If we decide to try this again with our other squash, I’ll try a few different things. One, I’ll cook down the filling so that it has less water. Two, I’ll cook it at higher heat. Lastly and most importantly, I’ll add a whole bunch more savory stuff.

baked stuffed butternut squash

Bhindi Masala

As part of my ongoing effort to learn how to cook and eat all the vegetables, I bought okra at the farmers’ market on Saturday, from one of the old guys who remind me of my grandfather. I had an okra dish that I liked the last time our friends brought over Indian food, so my plan was to reproduce that dish. Nosing around on the interwebs, I found a recipe for Bhindi Masala that I decided to try. Since Channa Masala is my favorite Indian dish, I knew I’d like the spices. And, I had all the ingredients, which is always a bonus.

First, I washed and trimmed 1 pound of okra (one of the two bags I’d purchased):

Okra in a bag.

Next I cut the pods in half, resulting in segments that were generally about 1 inch long, and set them to the side:

Okra in a bowl.

Having been forewarned about the sliming aspect of cutting into okra, I then washed the cutting board and knife before next thinly slicing two onions:

Two onions, one whole, one sliced.

Meanwhile, I warmed up the pan for two minutes, then added 1/4 cup of safflower oil, and heated that for another two minutes:

Pot.

This next step would have benefited from some garlic. In the future, I’ll mince two or three cloves and put them in with the onions and oil. This time, I cooked the onions over medium heat until they were translucent:

Onions and oil.

While the onions were cooking, I chopped the tomatoes. The recipe calls for two tomatoes; I used about a cup of cherry tomatoes and five small ones, all from our farm subscription:

Chopped tomatoes.

Once the onions were translucent, I added 1 teaspoon of paprika, 1/2 teaspoon of turmeric, and some salt and pepper. Unbeknown to me, my salt shaker was pretty much empty, so in the end it could have used more salt here. The flavor was also quite mild, so next time I think I’ll add 1/2 teaspoon cumin seeds and 1/2 teaspoon coriander, as with the Channa Masala. I cooked the onions and spices at higher heat until coated, about 2 minutes:

Onions with spices.

I then added the tomatoes, and cooked at high heat for about 1 minute (referred to in the recipe as ‘bhoona,’ the process of cooking off the liquid so that the spices coat the ingredients like a paste):

Onions, spices, and tomatoes.

Next, I added the okra and cooked at high heat (stirring constantly to prevent sticking) for about 2 minutes:

Onions, spices, tomatoes, and okra.

Finally, I added 1/2 cup water and 1 teaspoon garam masala, stirred it all around, lowered the heat, and covered the pot to steam for 15 minutes:
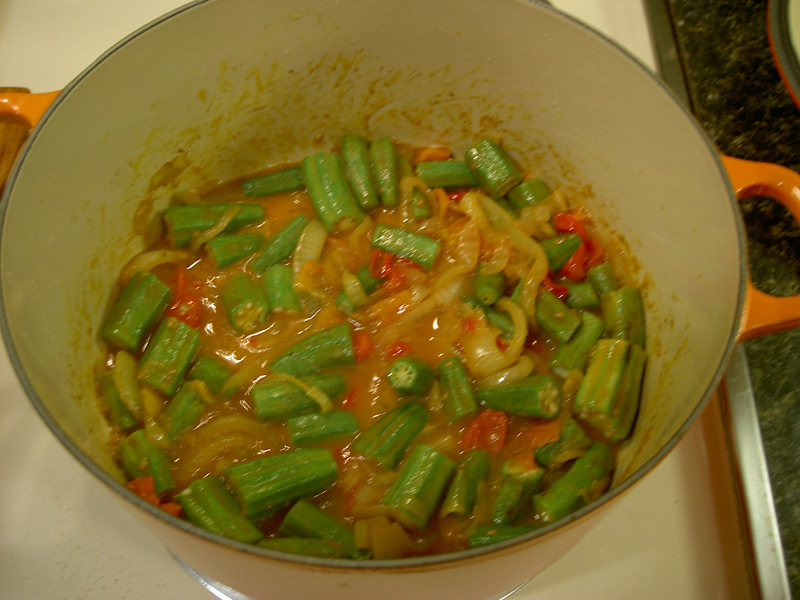
Everything steaming.
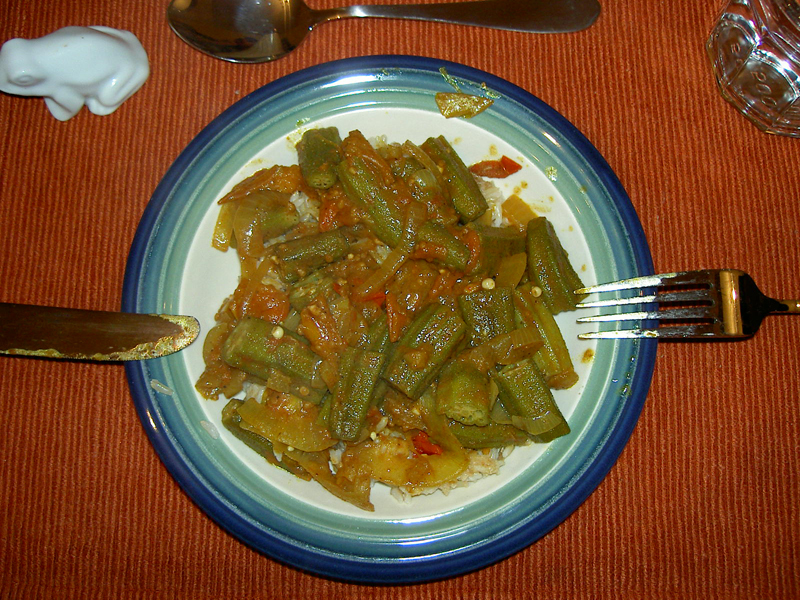
The dish warmed on the stove for about 1/2 hour following the steaming, and we then ate it over brown rice:
Dinner.

My general assessment of this recipe was that it wasn’t bad, but it wasn’t as flavorful as I’d like. In the future I’ll just modify the spices in the direction of the Channa Masala recipe I use, and I think it’ll be fine. If I’d had more onions (oops) I’d have just doubled it and used all the okra, since it only made enough for three servings (guess what I’ll be having for lunch). Since I didn’t, I’ll use the other bag to make a Madhur Jaffrey recipe, possibly ‘Sweet and Sour Okra with Chickpeas’ (if I can scrounge up curry leaves and tamarind paste).

Bhindi Masala

back on the grid

We’re home. We brought back 16 quarts of blueberries, already down to 12.5 and dwindling from there. My general approach is to eat as many as possible while they’re fresh, then freeze or bake them as they get a little more wilted. Rough life, I know.

Being back on the grid house-wise means being back off the grid car-wise. I dropped off the rental car this afternoon, after my final run to the store for things I’d forgotten on the weekend (rice milk and walnuts) and a visit to the garden. I discovered (not surprisingly) that my pepper plants were on their last legs, a combined effect of high temperatures and the pipe for the water to the garden in the process of being replaced. That I have peppers at all is a happy result of the kindness of my garden neighbor who has been watering my plants every day he’s there. I was happy to catch him this morning, and gave him half of the last of the jalapeños (the only pepper plants that thrived on my neglect, although the poblano didn’t do too badly, either). In exchange, I was offered an oddly tubular eggplant, which is currently roasting with those from our farm subscription in preparation for being mooshed into baba ghanoush, which itself is destined for the freezer. Yesterday I made my first batch of hommus as a warmup to today’s efforts with the eggplant, both recipes from the second volume of The Vegetarian Epicure. It was quite good, and very garlicky. I tend to double the garlic for most recipes, and always forget that’s not generally necessary for those from hippie vegetarian cookbooks.

In addition to food, I’m thinking a lot about paint. We have the paint for two rooms of the house (upstairs bathroom and family room), and as soon as I replace the tiles in the downstairs bathroom in the spot where we took out the frightening electric heater we’ll start using that one and get to work on the upstairs one (which will be painted, caulked, and grouted to within an inch of its life). The painting of the family room waits on the removal of the drop-down ironing board cabinet and the repair of that wall, as well as, of course, the moving of all of the stuff that’s currently blocking the walls. I’ve almost settled on a color for the bedroom, and that paint job will be easy as we’re also switching rooms. I’m trading down, taking the second small room as my space, and we’re planning to use the largest room as the bedroom, so it’ll be easy to paint during that transition.

And that’s the status report from the homefront. Welcome back.

back on the grid

high fiber muffins

Over the past month we’ve been shifting to a high-fiber low-saturated-fat way of eating in our house. Because of my eating choices — no mammal flesh, no dairy — we largely ate this way already. Largely hasn’t been good enough, though: my partner’s cholesterol is unacceptably high. Not just high overall, but inverted on each individual measure (high triglycerides, low HDLs, high LDLs). So, we’re (as my students used to say) taking it to the next level.

The next level, such as it is, involves no butter, egg substitutes, and whole wheat flour (we already bought whole wheat bread and high fiber cereal, just because those generally contained the smallest amounts of sugar). It also involves salads every day, which isn’t difficult with the food from our farm share and the community garden streaming in, and fish oil supplements. In addition to boosting fiber and shifting to exclusively using non-animal fats, I’ve also been trying to include things like rhubarb and walnuts in our meals, both of which are purported to specifically contribute to lower cholesterol.

In the course of trying to find something that’s tasty and moderately sweet that meets these criteria, I have been baking variations of the muffin recipe from Moosewood Restaurant Cooks At Home (one of my favorite cookbooks for food that’s delicious and easy to make). While the recipe doesn’t call for whole wheat flour, I find that I actually like the muffins better when made that way. And, most of the variations call for walnuts!

Muffin Madness

wet ingredients
1/2 cup egg substitute (equal to 2 large eggs)
1/2 cup vegetable oil
3/4-1 cup brown sugar
1/2 tsp vanilla extract

dry ingredients
2 cups whole wheat flour
1 tsp baking powder
1/2 tsp salt

additional ingredients
blueberry lemon
1 1/2 cup blueberries (add to wet ingredients)
1 tbsp freshly grated lemon peel (add to wet ingredients)

banana nut
1 1/2 cup mashed bananas (add to wet ingredients)
1 cup chopped walnuts (add last)
optional: handful of blueberries

zucchini
2 cups grated zucchini (add to wet ingredients)
1 tsp cinnamon (add to dry ingredients)
1/2 tsp cardamom (add to dry ingredients)
1/2 cup raisins (add at end)
3/4 cup chopped walnuts (add at end)

apple
2 cups grated apples (add to wet ingredients)
1 tsp grated lemon peel (add to wet ingredients)
1/2 tsp cinnamon (add to dry ingredients)
1/2 cup chopped walnuts (add at the end)

rhubarb
1 1/2 cup diced rhubarb (add to wet ingredients)
1/2 to 1 cup chopped walnuts (add at end)
1 1/2 tsp cinnamon (add to dry ingredients)

Preheat oven to 350 degrees. In a large bowl, mix together the wet ingredients, then stir in the additional ingredients and mix well. In a separate bowl, sift together the dry ingredients. Combine wet and dry, being careful not to overmix the batter. Spoon the batter into oiled standard muffin tins, and bake for 20-25 minutes, until puffed and golden (test with toothpick; they are done in my oven, which tends to need more time, after 23 minutes). If you are using mini-muffin trays, only bake for 10-15 minutes. Each plain muffin is listed as having 220 calories; I don’t know how much the adjustments to the recipe might change that.

Finally, the recipe emphasizes that the basic ingredients do not make a plain muffin: you must choose a variation to get the delicious end product!

I’ve been making a batch of these at least once, usually twice a week. We eat them warm for breakfast or as dessert in the evening, and then with our lunches through the week. I like each of the variations in their own way. The banana ones are sweeter, and I tend to use less sugar (more like 1/2 cup, especially when I’m putting in blueberries). The zucchini ones require more sugar because of the strong spices; they were more like a savory bread when I used only a minimal amount of sugar. I’ve made the rhubarb ones most often (and tucked away chopped rhubarb in the freezer, for when the season’s over), and the tartness of the rhubarb is nice. Maybe you have to have grown up in the Midwest to appreciate rhubarb? At any rate, we like it.

My serving recommendation: warm, with a big cup of strong coffee.

high fiber muffins

roasting vegetables

This week, I roasted vegetables for the first time. One might think that, as a vegetarian for over 10 years, I would have tackled this basic cooking style before now. But I hadn’t; I typically sauté or stew or steam. Truthfully, I never used the oven much for cooking. Baking, yes. Cooking, that I did on the stovetop.

Enter the farm share, and the aforementioned bags and bags of turnips. Lovely little gold and purple turnips. It seemed a shame to boil them and then pour all that vitamin water down the drain. Plus, roasting with olive oil, garlic, and fresh rosemary sounded a lot more appetizing.

The first challenge was finding a suitable dish. I have three rectangular glass/pyrex baking dishes, a round and lidded glass/pyrex casserole dishes, and a square and lidded glass/pyrex casserole dish. I wasn’t keen on using any of these, but we don’t have a roasting pan (since I don’t, well, eat roasts). Then I remembered the terrine we acquired in Switzerland, ten years ago now. It wasn’t exactly right, as we weren’t able to spread the turnips (and chunks of onion, and cloves of garlic) into a single layer, but with checking in and tossing everything around periodically it turned out decently. Some of the turnips were overly soft, but we mixed in two kinds plus larger chunks of rutabaga, so that could have contributed to the uneven result. All in all, tasty enough to repeat.

Coincidentally, we initiated this roasting venture during the same week that I was trotting around to different stores comparing pots and pans. We need to replace our main over-sized frying pan (the nonstick stuff has bitten the dust, as happens), and we’re trying to create a matrix of cost, utility and quality that will guide us to the single most useful replacement pan, but that’s a topic for another day. As a result of all this hanging out in cookware sections, I came across and snapped up three stoneware dishes more suitable for roasting: a rectangular one, a shallow oval one, and a medium-deep oval one (all of which were of discontinued colors or styles or something that led to them being dramatically less expensive).

Tonight, then, we successfully roasted our turnip dinner in less time, with a more even result, in a dish that allowed for all the pieces to stay in a single layer. Huzzah!

roasting vegetables